Whip Up Creamy Banana Pudding: Your Easy Make-Ahead Recipe
There are few desserts that evoke the comfort and nostalgia of home quite like a classic banana pudding. With its luscious layers of sweet vanilla wafers, ripe bananas, and a rich, creamy custard, it’s a timeless treat that has graced countless family tables, potlucks, and celebrations. But what if we told you that achieving this iconic dessert doesn't require hours over a hot stove? Enter the magic of a no-bake, make-ahead banana pudding recipe – your secret weapon for a stress-free, showstopping dessert that will undoubtedly disappear in minutes.
The Enduring Appeal of Classic Banana Pudding
The story of banana pudding is deeply intertwined with Southern culinary tradition, yet its roots stretch back further, across continents and centuries. Originally part of a category of desserts known as trifles, these layered puddings were cherished not only for their delicious flavors but also for the decorative flair they added to richly laden dinner tables. Imagine the Gilded Age, when elaborate feasts were the norm, and a visually stunning dessert like a trifle would truly shine.
The rise of banana pudding in America also owes a great deal to commerce. During this era, bananas became big business in port cities like New Orleans. Thousands of pounds of this exotic fruit arrived annually from the Caribbean, Central, and South America on "banana boats," before being swiftly loaded onto trains and distributed to kitchens nationwide. For many who might never glimpse a palm tree, bananas offered a delightful taste of the tropics, transforming from a luxury item to a beloved staple. To delve deeper into this fascinating journey, read more about From Trifles to Showstoppers: The Rich History of Banana Pudding.
For many, including those who grew up in the American South, the historical context was less important than the immediate joy. Whether at a barbecue buffet in the heart of the Carolinas, a bustling church potluck, or a quiet family dinner, the sight of a generous dish of banana pudding was an irresistible magnet. The creamy texture, the soft bananas, the sweet wafers – it’s a symphony of flavors and textures that remains as captivating today as it ever was.
Crafting the Perfect No-Bake Banana Pudding
This particular banana pudding recipe stands out from traditional cooked custards, offering a superior experience with less fuss. It expertly combines the best iterations of this iconic dessert into a no-cook pudding base that’s surprisingly rich and wonderfully fluffy. The secret? A brilliant combination of whipped cream and sour cream, which thickens the pudding while imparting a unique depth of flavor and an incredibly light texture. This method also cleverly bypasses the dreaded pudding separation that can sometimes plague leftover banana pudding, ensuring every spoonful is as perfect as the first.
The Secret to Unrivaled Creaminess
The heart of this easy banana pudding lies in its decadent, no-cook base. Instead of relying on eggs and careful tempering, this recipe leverages the magic of heavy cream and sweetened condensed milk, elevated by a touch of sour cream. To achieve maximum fluffiness and speed up the whipping process, a pro tip is to place your heavy cream in the freezer for about 10 minutes before whipping. This chilling helps the cream whip up faster and hold its peaks better, resulting in an ethereal, cloud-like pudding texture. While the sweetened condensed milk provides the essential sweetness, feel free to adjust the quantity to your liking – some find that using about three-quarters of a can is just right for a slightly less sweet profile.
The Art of Layering
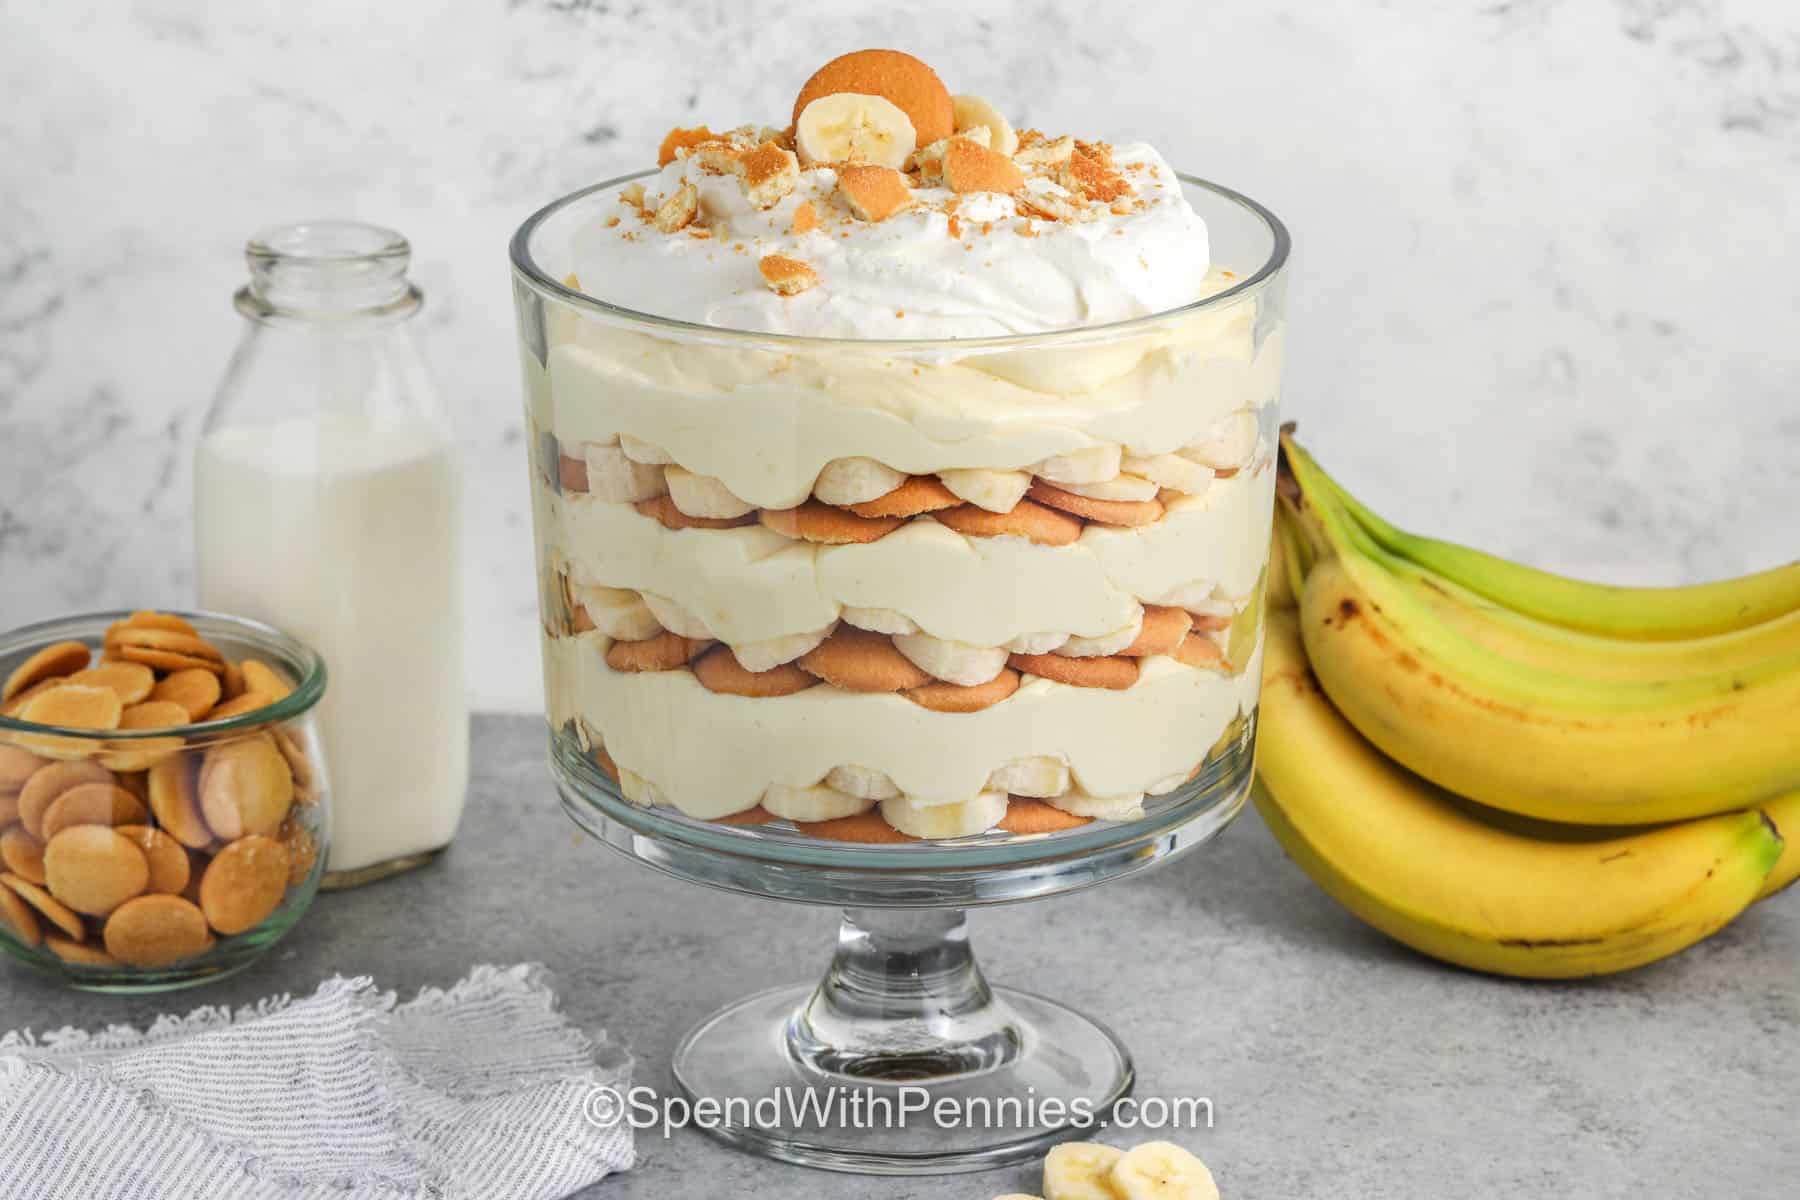
Presentation is key for banana pudding, especially if you want it to be a showstopper. The classic layering technique involves alternating:
- Vanilla Wafers: These provide a delightful crunch and absorb the pudding’s creaminess over time, softening into cake-like layers.
- Freshly Sliced Bananas: Choose ripe but firm bananas for the best texture and flavor.
- Creamy Pudding: Spooned generously over the wafers and bananas, enveloping them in its velvety embrace.
While serving out of a large trifle dish creates a stunning visual centerpiece perfect for a buffet, don't hesitate to create mini versions. Layering the pudding in individual cups or jars makes serving a breeze and offers an elegant touch for parties. Just layer, cover, and refrigerate!
Elevating Your Topping
To crown this masterpiece, a silky Italian meringue is often the choice. Its glossy sheen and delicate sweetness offer a beautiful contrast to the rich pudding. If you happen to have a mini blow torch on hand, a quick toast of the meringue will not only add a gorgeous golden hue but also infuse a delightful, campfire marshmallow flavor that takes the dessert to another level. If meringue feels like too much effort, a simple dollop of freshly whipped cream is always a welcome and equally delicious alternative.
Tips for a Showstopping Banana Pudding Every Time
Making a truly memorable banana pudding is about more than just following steps; it's about understanding the nuances that elevate a good dessert to a great one. Here are some insights to ensure your pudding is a resounding success:
Choosing Your Ingredients Wisely
- Bananas: Opt for ripe, yellow bananas with just a few brown spots – they’ll be sweet and flavorful without being mushy. Avoid overly green bananas (lack flavor) or overly brown ones (will turn to mush).
- Vanilla Wafers: While any brand will do, a good quality wafer will maintain some integrity even after soaking, contributing to the overall texture.
- Heavy Cream: Ensure it's very cold for optimal whipping.
- Sweetened Condensed Milk: Don't confuse this with evaporated milk; they are very different!
Preventing Banana Browning
Bananas, once sliced, can start to brown due to oxidation. While some browning is natural and won't affect flavor, a quick trick is to lightly toss your sliced bananas in a tiny amount of lemon juice or a dissolved vitamin C tablet. Be very sparing, as too much lemon can alter the flavor profile. Another method is to layer them quickly and ensure they are well covered by the pudding.
Make-Ahead Mastery
The beauty of this recipe is its make-ahead convenience. For the best flavor and texture, allow the banana pudding to chill in the refrigerator for at least 4-6 hours, or ideally overnight. This allows the wafers to soften and all the flavors to meld beautifully. It’s the perfect dessert to prepare the night before a gathering, freeing up your time on the day of your event. For more effortless dessert ideas, check out Easy No-Bake Southern Banana Pudding: A Classic Dessert.
Beyond the Classic: Creative Banana Pudding Variations
While the classic version is undeniably perfect, there's always room for a little creativity:
- Cookie Swap: Experiment with shortbread cookies, graham crackers, or even chocolate wafers for a different twist.
- Chocolate Lover's Dream: Drizzle some chocolate syrup between layers or add mini chocolate chips.
- Caramel Infusion: A swirl of dulce de leche or caramel sauce can add an extra layer of richness.
- Nutty Crunch: A sprinkle of toasted pecans or walnuts can provide a contrasting texture.
Conclusion
This easy, no-bake, make-ahead banana pudding recipe is more than just a dessert; it's a celebration of comfort, tradition, and culinary ingenuity. From its humble origins as a layered trifle to its modern status as a beloved Southern staple, banana pudding continues to delight with its rich flavors and irresistible textures. With the added depth of whipped and sour cream, the delightful crunch of vanilla wafers, and the option of a perfectly toasted Italian meringue, this recipe promises a dessert that’s not only simple to prepare but also guaranteed to be a crowd-pleaser. So go ahead, whip up a batch, and prepare to watch it vanish!
